Handlebar tape may initially seem like a simple aesthetic element, but in reality, it represents a crucial contact point between the cyclist and their bike. 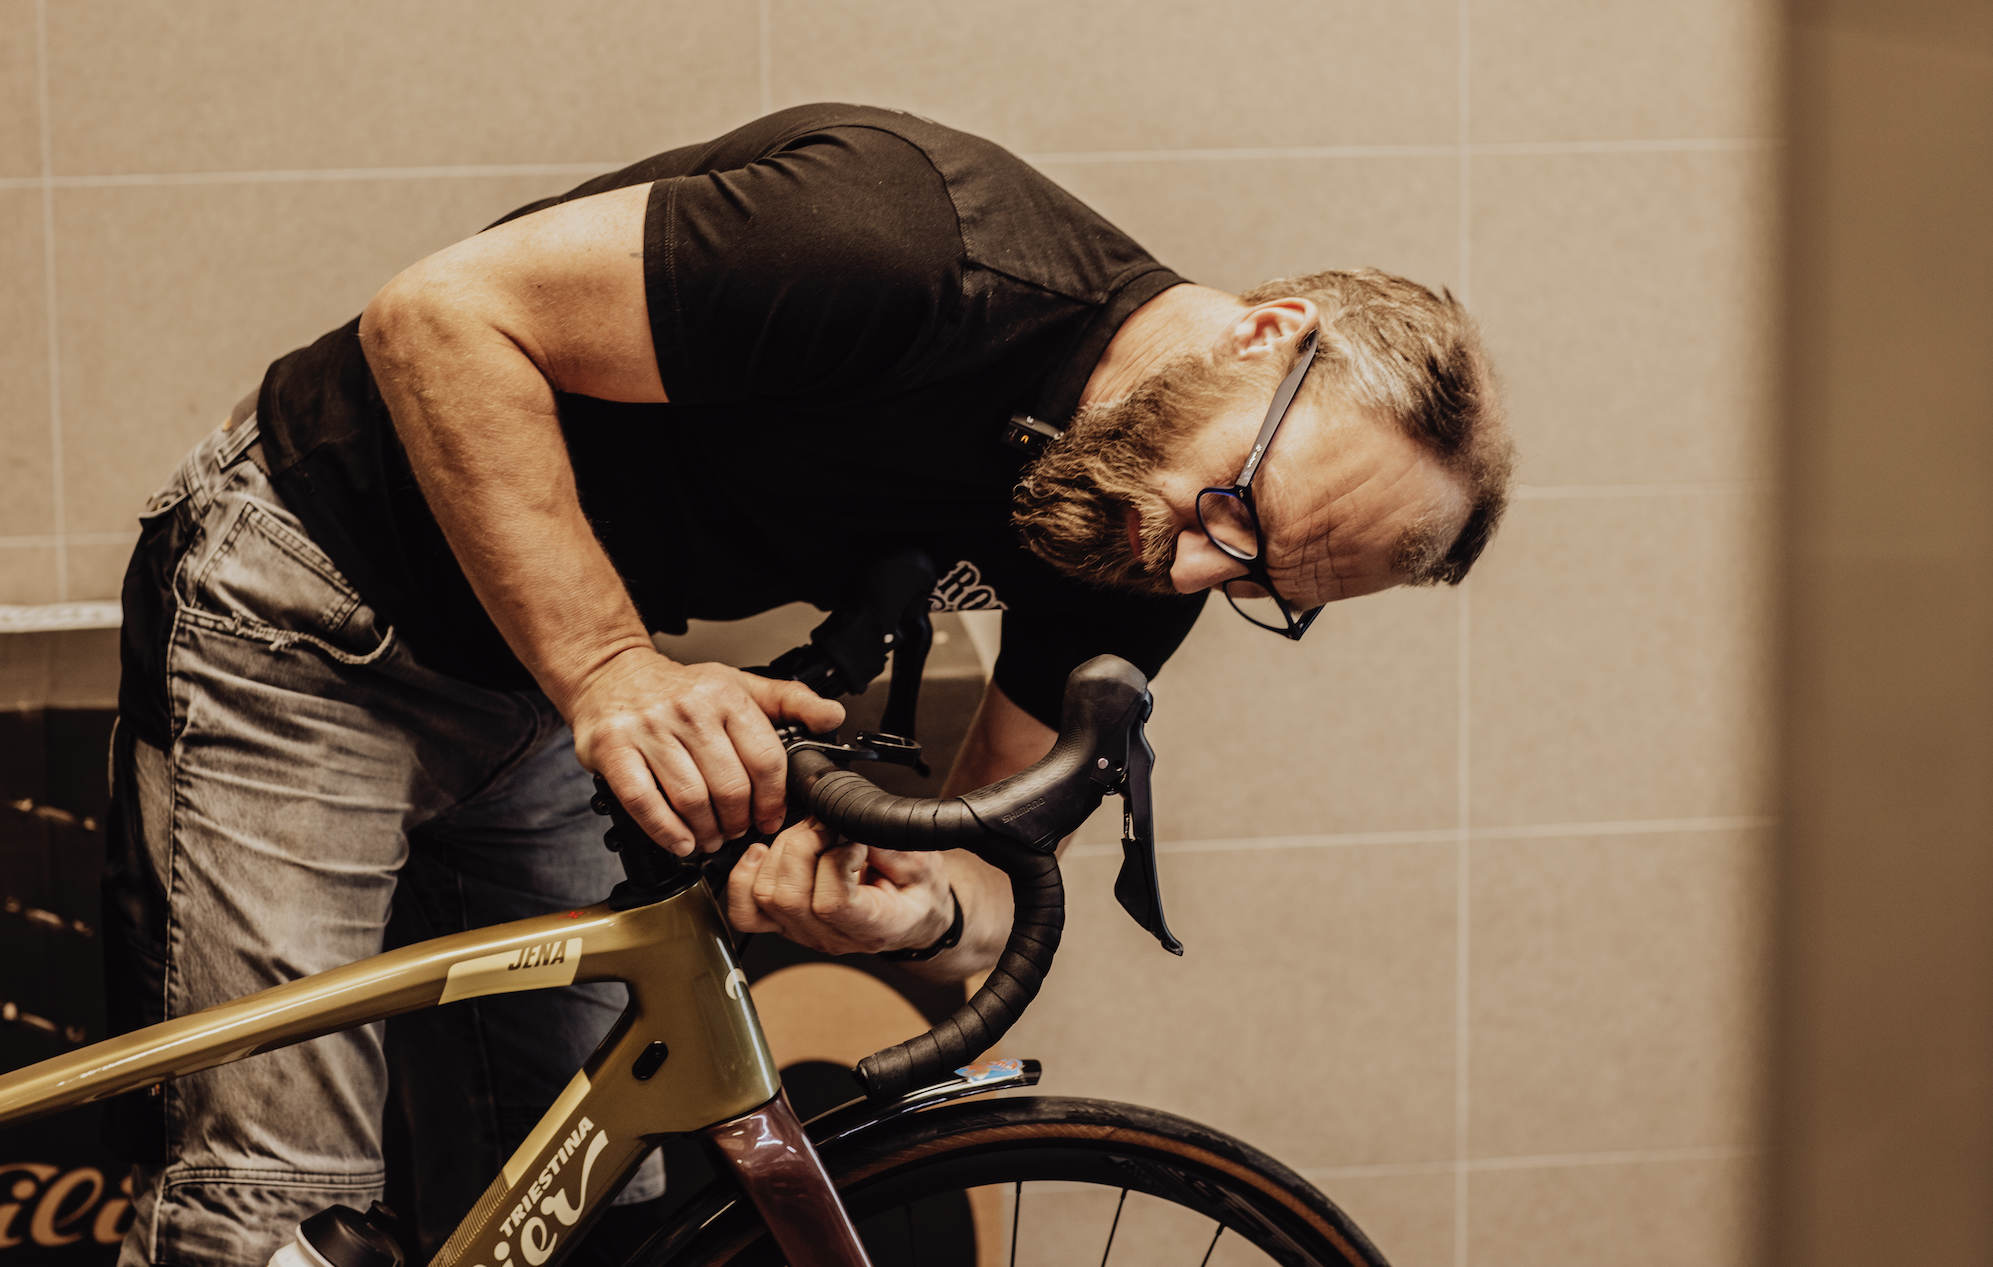 Generally, the tape should be replaced when it starts losing elasticity, frays, no longer feels soft to the touch, and fails to effectively dampen vibrations. If you feel inclined and have the time, you can replace the tape at home with ease. Check out our guide and get started. For this task, we've chosen our professional LEAF tape, which is more durable yet provides an excellent grip.
1. Prepare your handlebars: Remove anything that might hinder the wrapping – lights, computer holders, etc.
2. Pull out the plugs from the ends of the handlebars.
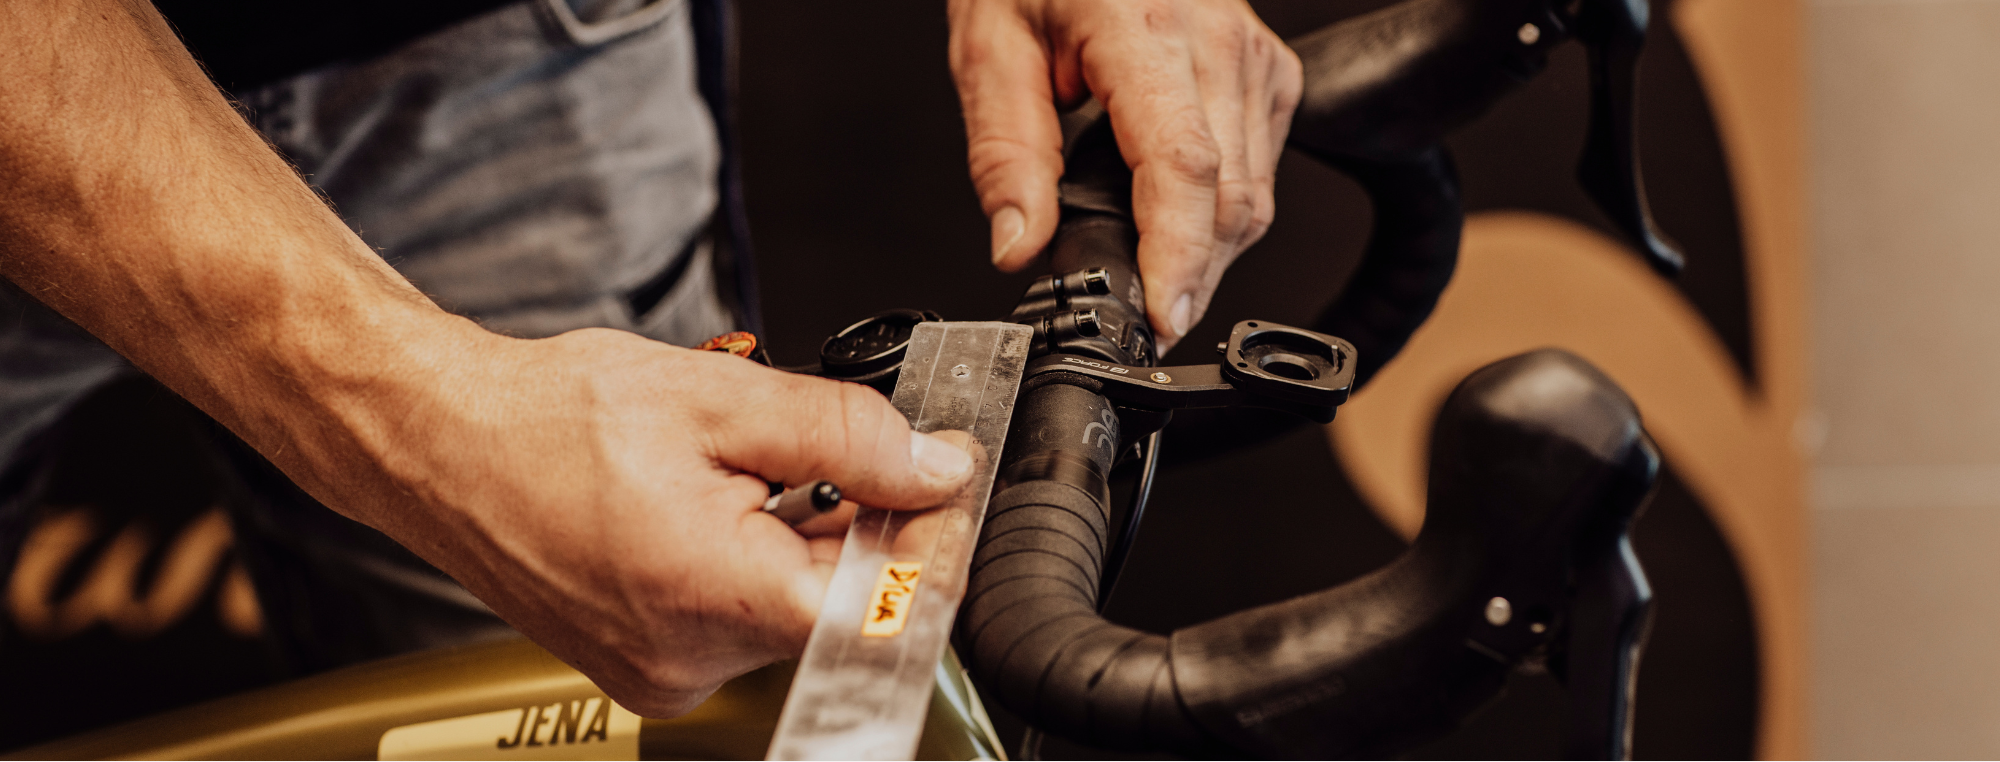
3. Measure the tape distance: Determine how far you need to wrap the new tape.
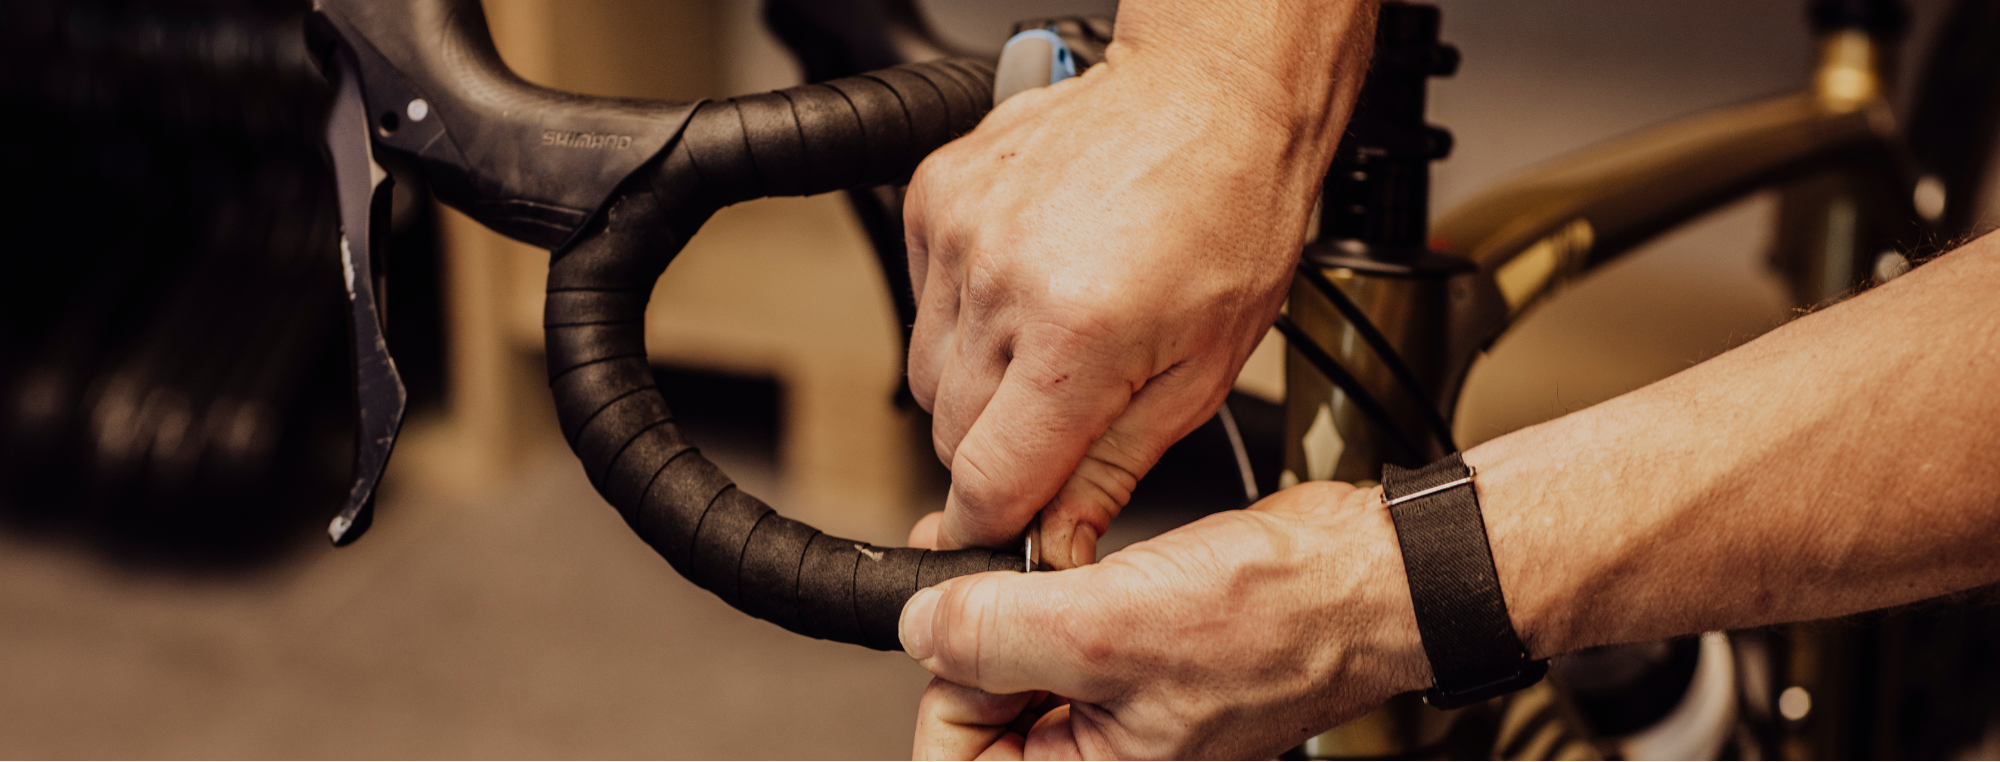
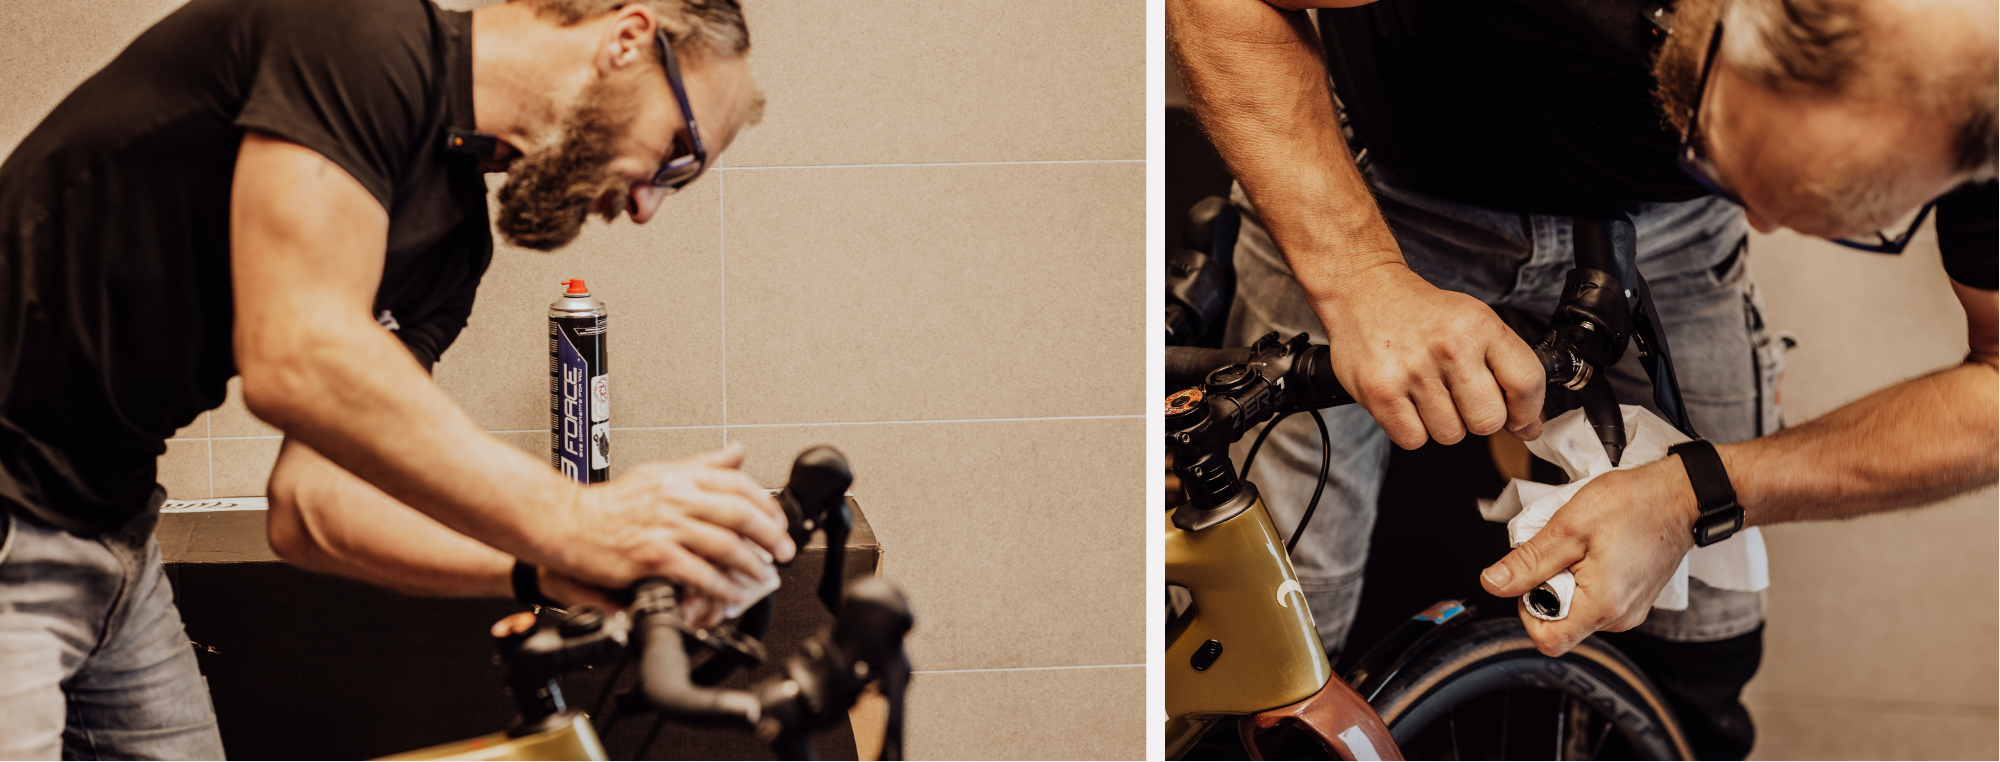
 4. Remove the old tape.
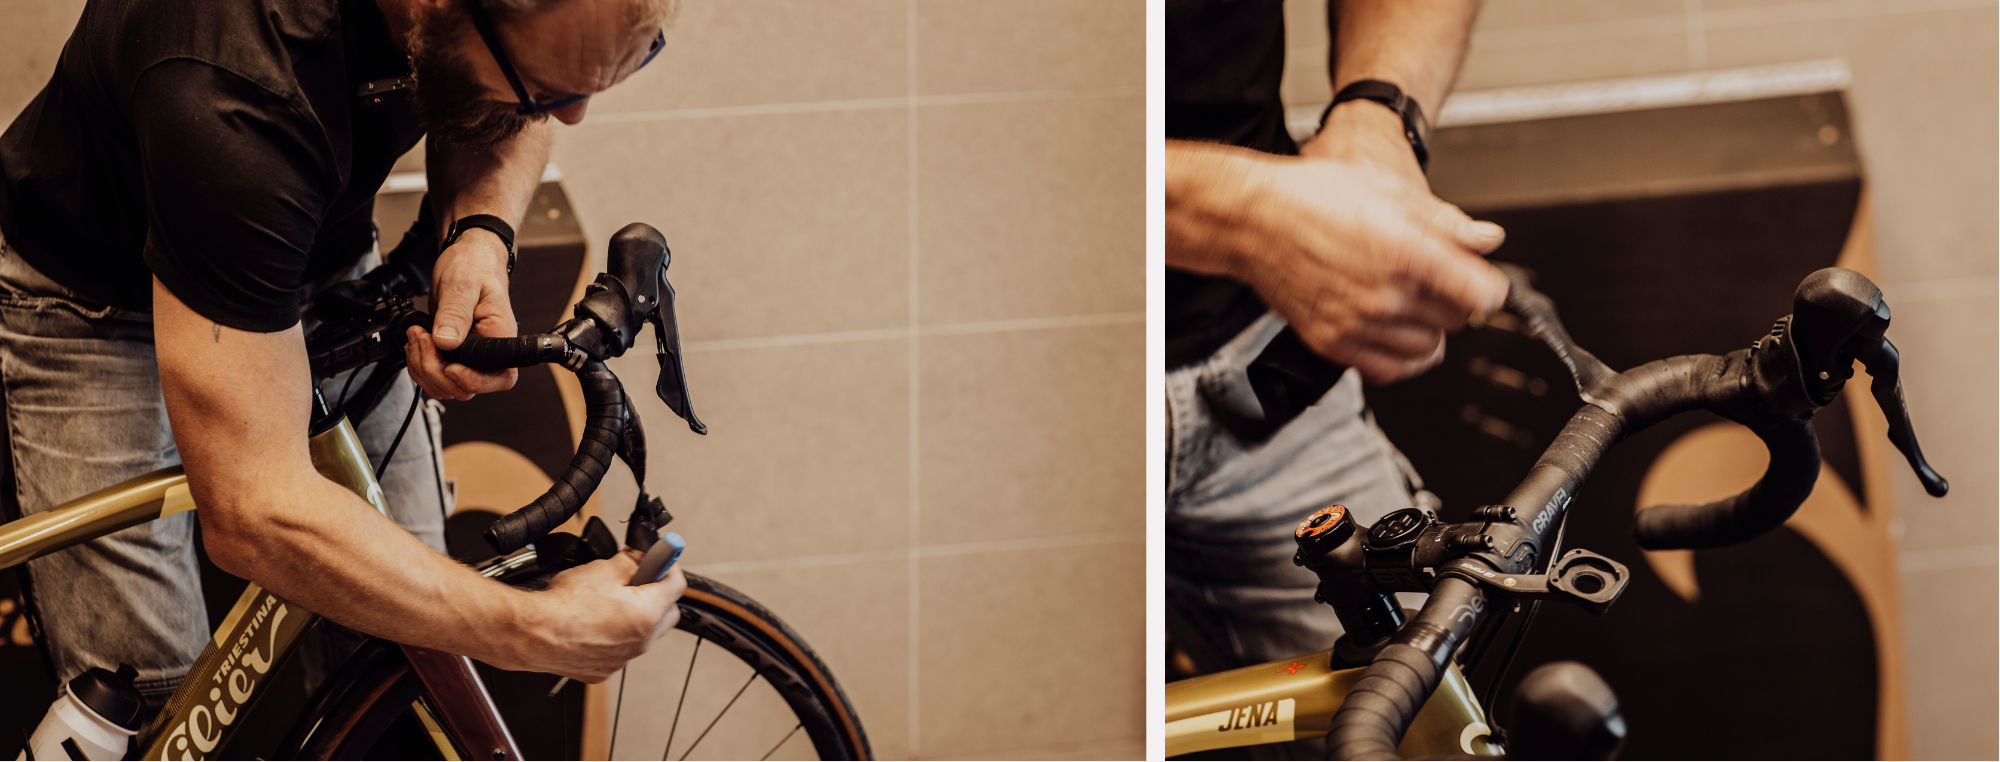
5. Clean the handlebars: Ensure the handlebar surface is dry and free of any remnants of old tape or adhesive. We recommend using our brake workshop cleaner, an excellent degreaser.
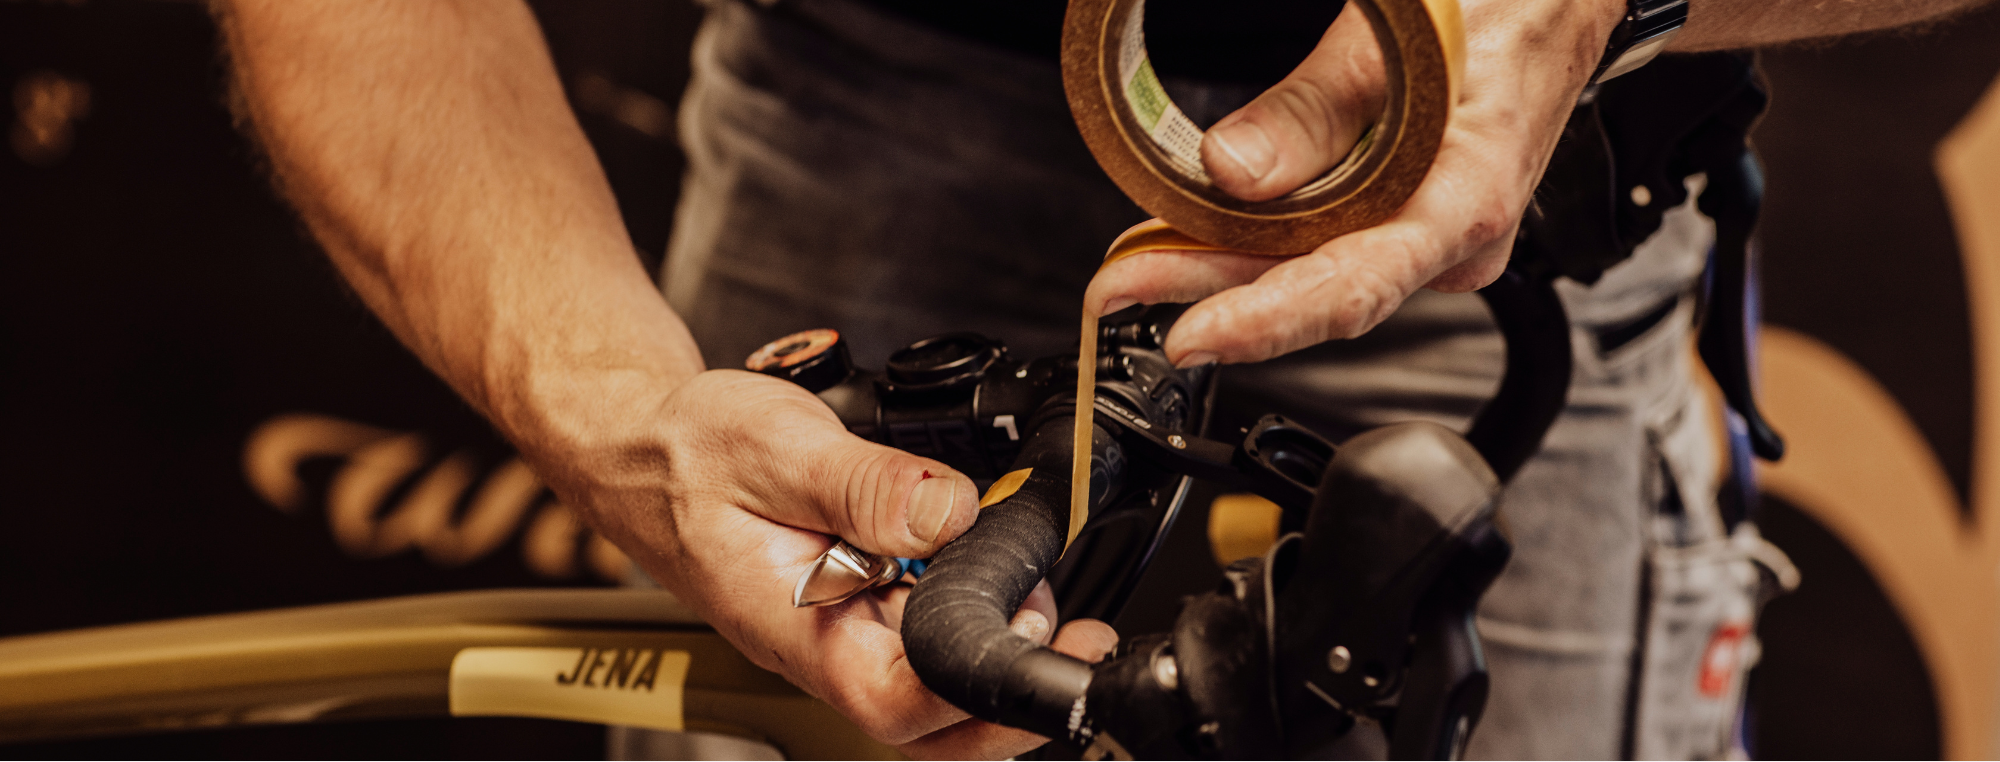
6. Use double-sided tape: Cut short strips of double-sided tape and apply them to the end of the handlebars and where you plan to finish wrapping the tape.
 7. Start wrapping: Choose a direction and begin wrapping – lay the tape evenly, tighten it securely, and monitor the wrapping angle to ensure even distribution.
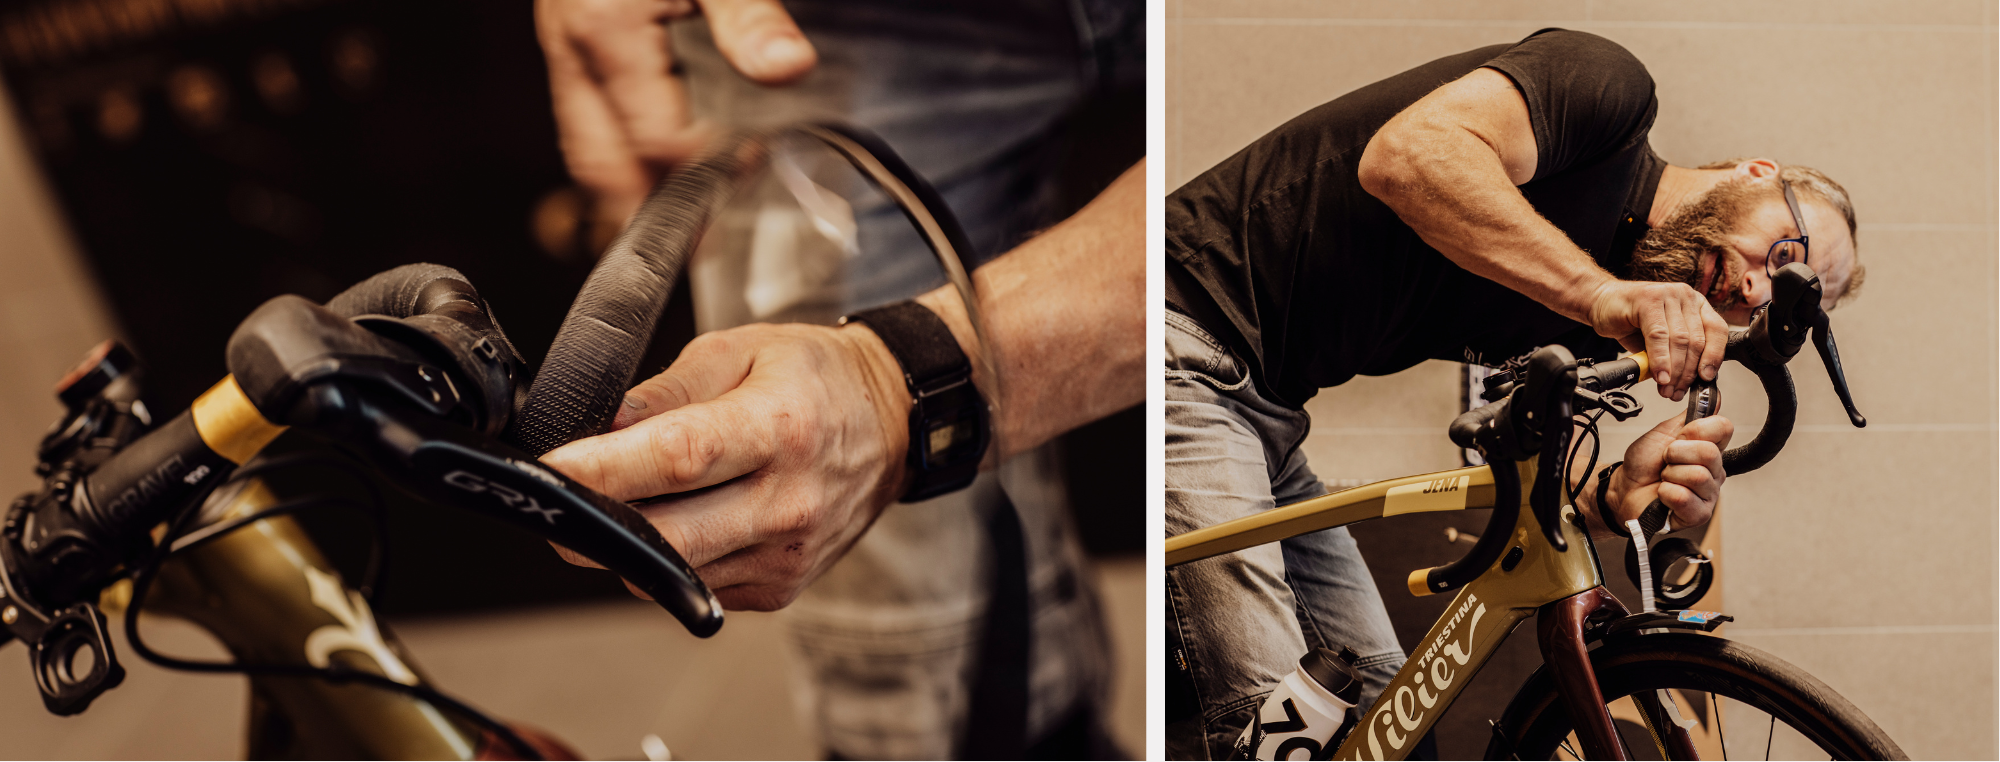 8. Use electrical tape: Secure the end of the tape with electrical tape, ensuring a better grip on the handlebars.
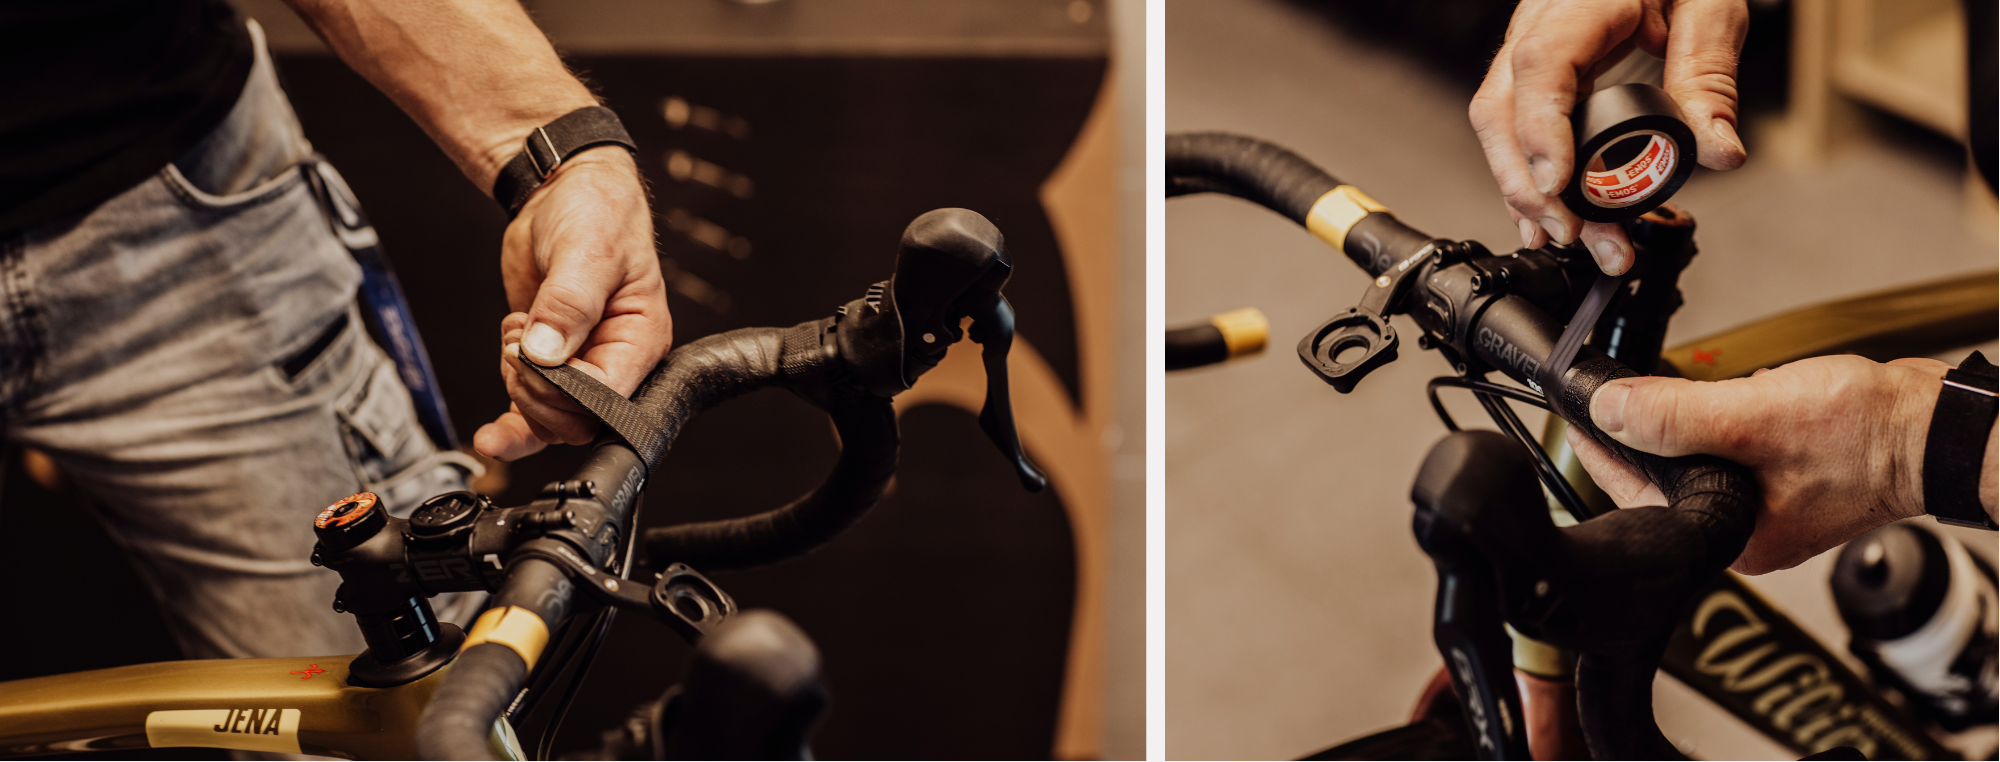
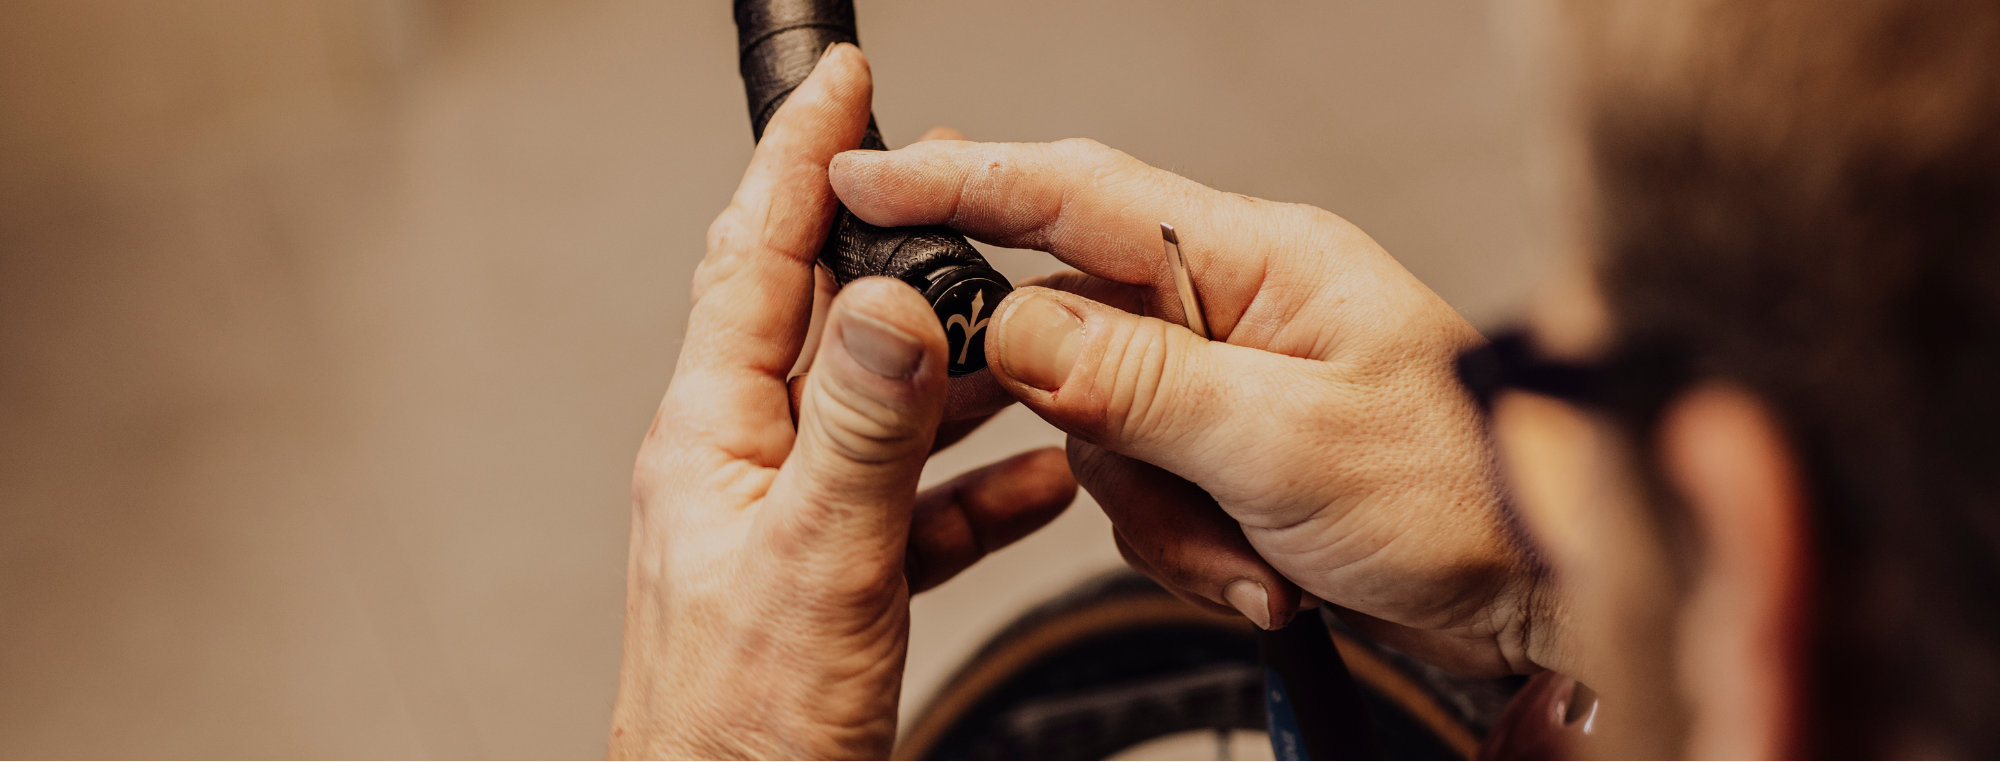
9. Reinsert the plugs.
10. Repeat the process on the other side.
These are just the basic 10 steps of handlebar tape replacement. Check out the video where Mates explains everything in detail and provides numerous tips to make the tape replacement a breeze.
